
Now add bed bugs to the mix.
If you had a bed bug case in your unit (even if it is “resolved”), you cannot treat your move out like a normal move out. Not because you are dirty or did something wrong. Bed bugs are basically expert hitchhikers. If you pack fast and messy, you can bring them to your new place. Or a friend’s car. Or a storage unit. Or your next landlord’s nightmare.
This is a practical, tenant focused checklist. It’s written to help you leave cleanly, protect your next home, and reduce the odds of disputes with your landlord.
And just to be clear, I’m not giving legal advice here. This is the real world, do this, don’t do that type of guide.
Quick reality check before you start
Bed bug “cases” usually fall into one of these:
- You were treated and you’re confident it worked, but you’re moving soon.
- You were treated and you’re not confident, and you still get bites or see signs.
- Your building had bed bugs somewhere, and your unit was involved or adjacent.
- You never treated properly, you just did DIY and now you’re leaving.
Your move out checklist should match your situation.
If you’re unsure whether the infestation is truly gone, you should assume you might still be dealing with active bugs and pack accordingly. It sounds paranoid. It is also how people avoid reinfesting themselves.
If you’re in Waukesha County and you want a quick sanity check, Bed Bug Exterminator Waukesha offers free phone consultations and can usually schedule quickly. Sometimes just describing what you’re seeing is enough for someone experienced to tell you whether it sounds like leftover irritation… or a still active problem.
https://bedbugexterminatorwaukesha.com/
What to do first (before you pack a single box)
1. Confirm treatment status and paperwork
Before anything else, gather:
- Treatment date(s)
- The company’s treatment notes (if you have them)
- Any prep sheets you were given
- Any follow up plan or warranty info
- Emails or texts with landlord or property manager
Why this matters: if your landlord later claims you left “infested items” or caused a reinfestation, you want a clean paper trail showing you handled it responsibly.
2. Do a last inspection in the places that matter
You are not doing a perfect pest inspection. You’re just trying to catch obvious problems.
Check:
- Mattress seams and tags
- Box spring edges and underside
- Bed frame joints, headboard cracks
- Baseboards near the bed
- Behind nightstands, dresser corners
- Inside the folds of upholstered furniture
- Any clutter piles near sleeping areas
Look for:
- Live bugs
- Shed skins
- Tiny white eggs (harder to see)
- Fecal spots (dark ink like dots or smears)
If you see live activity, skip ahead to the “If you think they’re still active” section. Because your packing strategy changes.
The move-out checklist (bed bug edition)
3. Get the right supplies. Do not improvise with flimsy bags
You want supplies that reduce “hitchhiking.”
Grab:
- Heavy duty contractor bags (3 mil or thicker is nice)
- Clear plastic bags for “clean” items
- Plastic bins with tight lids (optional but great)
- Packing tape
- Permanent marker
- Laundry detergent and access to a dryer
- Disposable gloves (optional, but helpful)
- A vacuum with a crevice tool
- Bed bug proof encasements (only if you’re keeping mattress/box spring)
If you’re using cardboard boxes, it can be fine. But know this: bed bugs can hide in folds, seams, handles, and gaps. Cardboard is not magic protection.
4. Pack in a clean-to-dirty order (this matters more than people think)
A lot of reinfestations happen because people pack randomly.
Do it in this order:
- Clean clothing and linens that can be dried on high
- Items stored away from the sleeping area
- Kitchen stuff (usually lower risk)
- Books, papers, decor (higher hiding potential)
- Bedroom furniture and anything near the bed last
Basically, pack low risk first, high risk last.
And keep packed “clean” items separated from everything else. Like actually separate. Different room if possible.
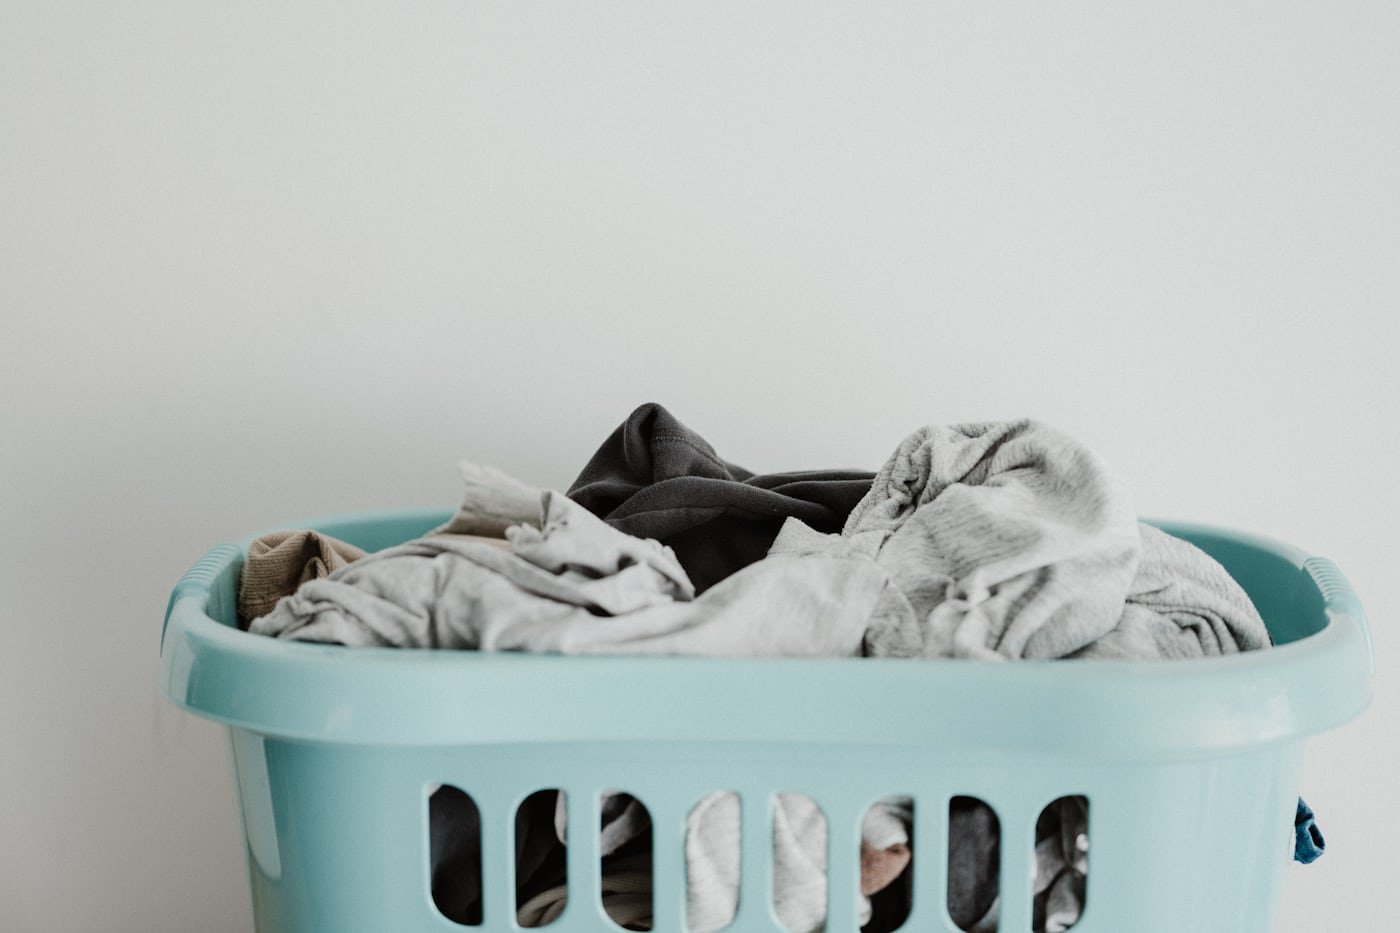
5. Laundry protocol (your dryer is your best friend)
If you only do one thing on this list, do this part correctly.
For clothing, towels, bedding, curtains, washable fabrics:
- Put items in a bag in the room where they are.
- Tie it off.
- Take the bag straight to laundry.
- Dump directly into washer or dryer.
- Dry on high heat for 30 to 60 minutes (high heat is what kills bed bugs).
- After drying, place items into a new clean bag or sealed bin.
If you wash first, that is fine. But heat is the kill step. Washing alone is not reliable.
Image (laundry + heat step):
6. Bag and label everything like you’re running a small warehouse
This feels excessive until you’re exhausted on move day.
Use labels:
- “CLEAN, HEAT TREATED”
- “CLEAN, INSPECTED”
- “NOT TREATED YET”
- “DO NOT OPEN UNTIL ARRIVAL”
- “DISCARD”
Why label? Because you will forget which bag is which. And then you’ll open the wrong one in your new place. That’s how it happens.
7. Electronics and items you can’t launder (do not just toss them loose in a box)
These are common hitchhike items:
- Alarm clocks, phone chargers near bed
- Laptops and laptop bags
- Gaming consoles
- TVs in bedroom
- Power strips
- Picture frames near bed
- Books stored by the bed
- Stuff under the bed
What to do:
- Inspect seams, vents, ports, and crevices.
- Vacuum lightly around edges (do not destroy your device, just be careful).
- Seal in plastic bags or bins.
Some people use Nuvan strips or other pest strips for sealed tote treatment, but do not freestyle chemical use, especially if you have kids, pets, asthma, etc. Follow label instructions and local guidance. When in doubt, ask your exterminator what they recommend for non washable items.
8. Furniture decisions (keep, treat, or toss)
This is the hardest part emotionally and financially. It is also where people make the most expensive mistake.
Mattress and box spring
If the infestation was centered around the bed and you’re unsure it’s 100 percent resolved, moving a mattress is risky.
If you’re keeping them:
- Confirm they were treated (chemical or heat) and whether encasements were recommended.
- Use bed bug encasements on mattress and box spring and keep them on.
- Move them wrapped if possible.
If you’re tossing them:
- Slash or mark them so nobody takes them.
- Wrap in plastic if your building requires it for disposal.
- Follow your city or building disposal rules.
Image (encased mattress):
Upholstered furniture (couches, recliners)
If a couch was in a sleeping area, or you slept on it, it’s high risk.
- Inspect seams, under cushions, staple lines underneath.
- If you saw activity there during the case, seriously consider leaving it behind unless it was professionally treated and you’re confident.
Hard truth. A cheap couch can cost you a whole new infestation.
Wood furniture
Dressers, nightstands, bed frames can be moved, but:
- Disassemble if possible
- Inspect joints, screw holes, cracks
- Vacuum crevices
- Keep hardware in sealed bags
9. Vacuuming and “final clean” steps that actually help
Vacuuming does not replace treatment. But it does reduce the chance you move stragglers.
Do this right before you leave:
- Vacuum baseboards, carpet edges, under furniture areas
- Vacuum bed frame area if still present
- Vacuum closets near bedroom
Then:
- Remove the vacuum contents carefully.
- Seal in a bag.
- Dispose outside immediately.
If it’s a bagless vacuum, empty into a bag, seal it, then wipe the canister area if you can.
10. Do not use foggers. Seriously. Just don’t.
Bug bombs and foggers tend to:
- Not reach hiding spots
- Scatter bed bugs into walls and adjacent units
- Create bigger problems for everyone
If you’re moving out and tempted to bomb the place “for good measure,” don’t. It can backfire.
Move day rules (the stuff that prevents a relapse)
11. Keep “clean” items sealed until they are in the new place
This is boring advice. It also matters.
- Do not open clean bags in hallways
- Do not place clean bags on upholstered seats in a friend’s vehicle
- Do not mix treated laundry with untreated bins “just for a second”
Treat your clean stuff like food safety. Cross contamination is real.
12. Be careful with the moving truck and helpers
If you hire movers, you do not need to announce your entire life story, but you should be responsible.
Practical steps:
- Put bagged and sealed items in first.
- Keep loose furniture last.
- Avoid placing items directly on fabric truck pads if you can. Plastic wrap is your friend.
If a friend is helping with a minivan, don’t toss loose pillows, blankets, or random bedroom clutter in their car. Bag it.
After you arrive at the new place (this part is overlooked)
13. Unpack in a controlled way, not a chaotic explosion
Unpack like this:
- Bring in only heat treated clothes and bedding first.
- Set up sleeping area with minimal items.
- Keep everything else sealed until inspected or treated.
A lot of people unpack everything, then notice bites a week later, then they’re trying to figure out which box did it. You do not want that.
14. Install passive monitors right away
Even if you’re confident you did everything right, monitors can catch early activity.
- Interceptor cups under bed legs
- Sticky monitors in strategic spots (not perfect, but can help)
- Regular visual checks
Early detection is the difference between “one bug we caught fast” and “we’re doing treatment again.”
What to document for your landlord (to protect your deposit and your sanity)
15. Photos, videos, and written notes
Take:
- Photos of empty rooms
- Photos of furniture you left (if any) and how it was disposed
- Photos of mattress disposal markings if applicable
- Video walkthrough at move out
Also keep:
- Receipts for laundromat drying
- Receipts for encasements or bins if you bought them
- Any pest control treatment receipts or notes
This isn’t about being dramatic. It’s about not getting stuck in a blame game later.
If you think bed bugs are still active right before move-out
This happens a lot. People are mid pack and suddenly see a bug, or bites come back.
Here’s what to do:
- Stop packing loose items. Bag everything.
- Prioritize heat drying anything fabric.
- Delay moving upholstered furniture if possible.
- Call a bed bug only exterminator and describe what you’re seeing. You need a plan, not panic.
If you’re local, Bed Bug Exterminator Waukesha can walk you through options and typical prep expectations, including chemical treatment, heat treatment, or combination approaches depending on the situation. They also mention limited prep options for people who cannot do a full prep.
https://bedbugexterminatorwaukesha.com/
Sometimes a quick treatment before you move (or treating the items you plan to move) is the difference between starting fresh and dragging the problem with you.
Common mistakes tenants make (and regret later)
“I’ll just pack fast and deal with it later.”
Later becomes your new apartment. Or your next roommate’s bed. Not fun.
“I didn’t see any bugs so it must be fine.”
Bed bugs are excellent at not being seen. Your process needs to assume that.
“I used a storage unit for a month.”
Storage units are a bed bug trap if you store untreated items. If you must use storage, seal everything, label it, and avoid putting high risk furniture in there unless you’re confident it’s clean.
“I threw away my mattress so I’m safe.”
If your nightstand, backpack, or laundry pile still has bugs, you can still move them. Mattresses are common, not exclusive.
Printable move-out checklist (copy and paste)
Before packing
- Gather treatment paperwork and landlord communication
- Inspect bed area and nearby furniture for live signs
- Buy contractor bags, clear bags, tape, markers, bins
Packing and treating
- Pack clean-to-dirty order
- Dry clothing and linens on high heat, rebag clean
- Seal and label bags: CLEAN vs NOT TREATED
- Inspect and seal electronics and bedroom items
- Decide what furniture is safe to move vs discard
- Vacuum edges and crevices, dispose vacuum contents outside
Move day
- Keep clean bags sealed until arrival
- Do not mix treated and untreated items
- Bag loose items before loading any vehicle
After arrival
- Unpack treated essentials first
- Keep other items sealed until inspected
- Install monitors under bed legs
- Watch for signs for 6 to 8 weeks
Landlord protection
- Photo and video documentation of empty unit
- Receipts for laundry and supplies
- Disposal proof for any infested items
Wrapping it up (because you probably have 40 boxes to tape)
A bed bug case doesn’t have to follow you. But it can, and usually it happens during a move.
If you do the basics right, especially heat drying, sealing, labeling, and unpacking slowly, you massively reduce the risk. Not 5 percent. Massive.
And if you’re in or near Waukesha and you want help confirming what’s going on before you move, or you need a treatment plan that fits your timeline, you can reach out to Bed Bug Exterminator Waukesha for a free phone consultation and straightforward pricing.
https://bedbugexterminatorwaukesha.com/
Additional helpful images you can place throughout (optional)
Packing sealed bags:

Vacuuming baseboards:
FAQs (Frequently Asked Questions)
Why is it important to handle a move-out differently if there was a bed bug infestation?
Bed bugs are expert hitchhikers that can easily travel hidden in your belongings. If you had a bed bug case in your unit, even if “resolved,” treating your move-out like a normal move risks bringing bed bugs to your new home, a friend’s car, storage units, or causing reinfestation. Proper handling helps protect your next home and reduces disputes with landlords.
What should I do before packing if I had bed bugs in my unit?
First, confirm your treatment status and gather all related paperwork such as treatment dates, company notes, prep sheets, follow-up plans, warranties, and communications with your landlord. Then perform a last inspection of key areas like mattress seams, bed frames, baseboards near beds, and upholstered furniture for signs of live bugs or infestation.
How should I pack my belongings to minimize the risk of spreading bed bugs during a move?
Pack in a clean-to-dirty order: start with clean clothing and linens that can be heat-treated, then items stored away from sleeping areas, followed by kitchen items (lower risk), then books and decor (higher hiding potential), and finally bedroom furniture and items near the bed. Keep clean packed items physically separated from others to avoid cross-contamination.
What laundry protocol is recommended to kill bed bugs on fabrics before moving?
Place clothing, towels, bedding, curtains, and washable fabrics into sealed bags in the room they are found. Transport them directly to laundry without opening bags. Dry all items on high heat for 30 to 60 minutes since heat kills bed bugs effectively. After drying, store items in new clean bags or sealed bins. Washing alone is not sufficient; heat is the critical kill step.
What supplies are essential for packing during a bed bug-related move-out?
Use heavy-duty contractor bags (3 mil thick or more), clear plastic bags for clean items, plastic bins with tight lids if available, packing tape, permanent markers for labeling, laundry detergent with dryer access for heat treatment, disposable gloves if desired, a vacuum with crevice tool for cleaning furniture cracks and crevices, and bed bug-proof encasements if keeping mattresses or box springs.
How should I label my packed items when moving out after dealing with bed bugs?
Label all packed items clearly to indicate their treatment status such as “CLEAN, HEAT TREATED,” “CLEAN, INSPECTED,” “NOT TREATED YET,” or “DO NOT OPEN UNTIL.” This warehouse-style labeling helps keep track of which belongings have been treated or inspected and prevents accidental contamination during the move.